WordPress database error: [Table './quadium_wrdp27/wp_postmeta' is marked as crashed and should be repaired]SELECT post_id, meta_key, meta_value FROM wp_postmeta WHERE post_id IN (10679,10649,10648,10639,10640,10641,10642,10643,10645,10646,10644,10647) ORDER BY meta_id ASC

If you saw my post about our DIY reclaimed wood wall then you know we’re on a sort of home decor kick. We’ve lived in our house for over a year and are finally getting around to adding personal touches to really make our house feel like a home.
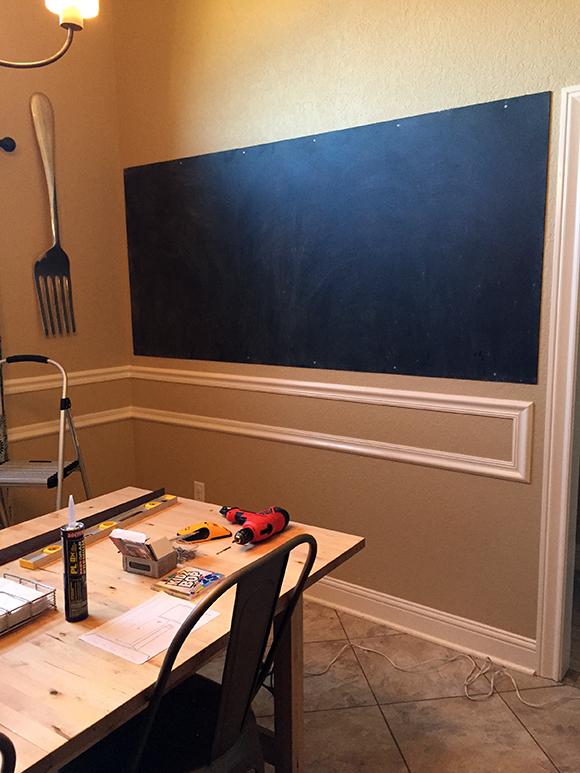
At our old house we had a chalkboard border (also DIY) in the kitchen and we really loved it, so we knew we wanted to find a way to incorporate a chalkboard into this house, too. We decided the large wall in our dining room would be perfect. Once we chose the location, we got started by measuring the wall – we wanted the chalkboard to fill the wall but still have a bit of space around it. Then we went to Lowe’s and had a piece of masonite cut; we had another piece cut to make a smaller chalkboard for our friends at the same time.
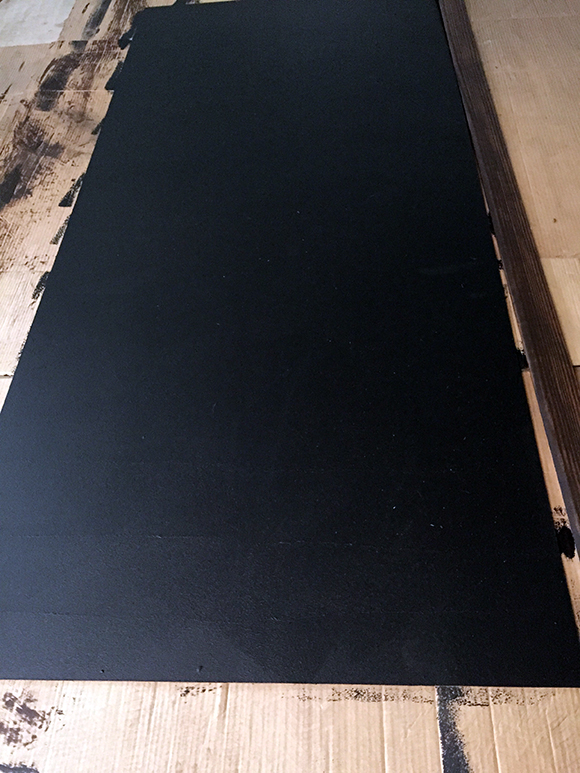
To begin the project I laid the masonite out and primed it. I primed it with a magnetic primer, but I’d recommend getting a regular primer tinted black or dark grey. The magnetic primer was expensive and I was only able to get one coat on each board. I didn’t want to pay for another can, and ended up with virtually no magnetic hold to the chalkboard. Oh well – it did work well as a primer!


After that I put one coat of chalkboard paint on each board. I made sure to keep the coat fairly thick, and one coat did the trick.
We bought some baseboard molding and I stained it to match the rest of the wood in our house. It worked out well because I love the look of a dark wood frame around a chalkboard and think it evokes a vintage feel.
We let the chalkboard paint dry for 24 hours and then it was time to prep it with chalk. It’s the one instance you want to make your brand new project look not-so-brand-new!
First I used the side of chalk pieces to cover the entire board. You don’t need to worry about making it uniform (as you can see mine is quite haphazard) – just get good coverage.

Then wipe the whole thing down with a dry rag. Here’s what ours looked like after one pass. I ended up wiping it down one more time to get it to where I liked it.
Next it was time for installation. We screwed the masonite directly into the wall at both the top and bottom of the board, hitting as many studs as we could.
Once it was up, I took a wet rag and wiped down the edges so our frame could adhere to a clean surface.

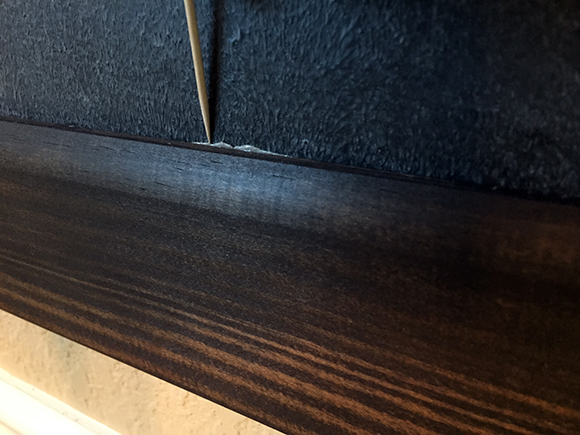
Next we used construction adhesive to secure the frame to the chalkboard. Brian did miter cuts on the corners of our molding strips so we ended up with a nice clean finished product (FYI you don’t need anything fancy to do this; just buy an inexpensive saw and miter box, and you’re all set).

We used quick-grab adhesive but still decided to add finishing nails for more support. They’re small and virtually unnoticeable, but as with our wood wall I like the character they add.

In some places the construction adhesive seeped out beyond the frame, so I used a toothpick to carefully clean up the excess:
And voila! Our custom-made chalkboard. I love it and think it really makes the space. We’ll fill it with quotes, scriptures, birthday greetings and more.

If you make your own chalkboard I’d love to see it! Send me a photo (my email address is on my contact page) and I’ll add it to this post with credit to you.