WordPress database error: [Table './quadium_wrdp27/wp_postmeta' is marked as crashed and should be repaired]SELECT post_id, meta_key, meta_value FROM wp_postmeta WHERE post_id IN (12703,12698,12699,12704,12701,12696,12702,12684,12694,12700,12687,12690,12697,12691,12688) ORDER BY meta_id ASC
This shop has been compensated by Collective Bias, Inc. and its advertiser. All opinions are mine alone. #SnugHugs #CollectiveBias
One of my good friends at work had a baby a few weeks ago, and we’re planning a baby shower. I’m having way too much fun helping with it – I created onesie-shaped invitations (complete with little bow ties to go with our theme) – and I’ve made a really adorable diaper wreath that will be a great welcoming feature as people arrive.
Diaper cakes have been really popular for a long time now – I’ve made, and received, my fair share of them. I think they’re really fun and can make a perfect table centerpiece, but with this shower I wanted to do something a little more unique.
Diaper wreaths are great on several levels: they, like I mentioned, are placed on the front door and welcome guests to the party. Another pro? The diapers are easy to remove and use. And unlike a diaper cake, you don’t have to find a big surface to store the wreath on when you take it home.
The best part about diaper wreaths, though, is they’re SO easy to make! You just need a few supplies:
- Rubber bands (I used the little bands my kids had for making bracelets – we have tons of them left over now that the craze has passed).

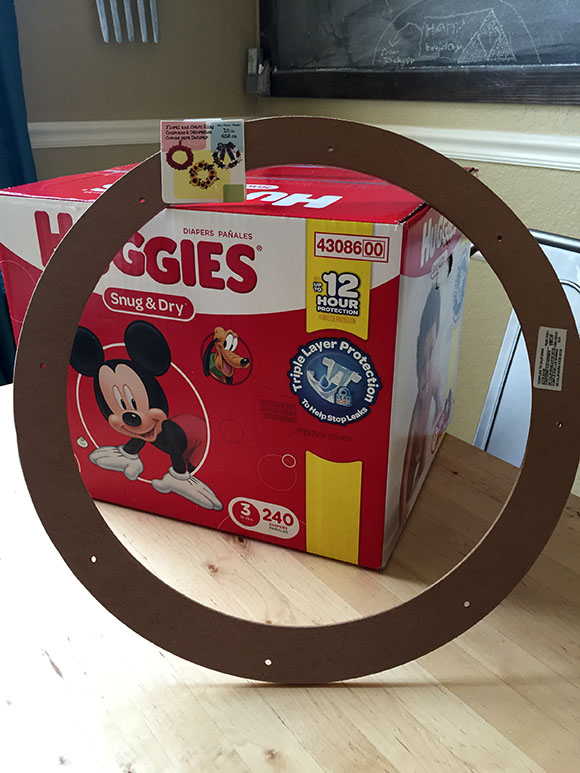
- Diapers (I went to Sam’s Club so I could get a big bunch; I had plenty for the wreath and I know my friend will love getting the big box of extras, too). My friend loves the great quality of Huggies Snug & Dry, especially the fact that they provide up to 12 hours of protection and keep her baby’s skin dry! There’s a great deal for $7 off at Sam’s right now on Ibotta (get it for yourself here), so that was a total win!


- Assorted ribbon

- Glue gun & glue sticks
- Wreath shape (I bought one made out of MDF but you could cut a shape out of cardboard, foam core, or another material you have on hand)
Now let’s get on to how to assemble the wreath!
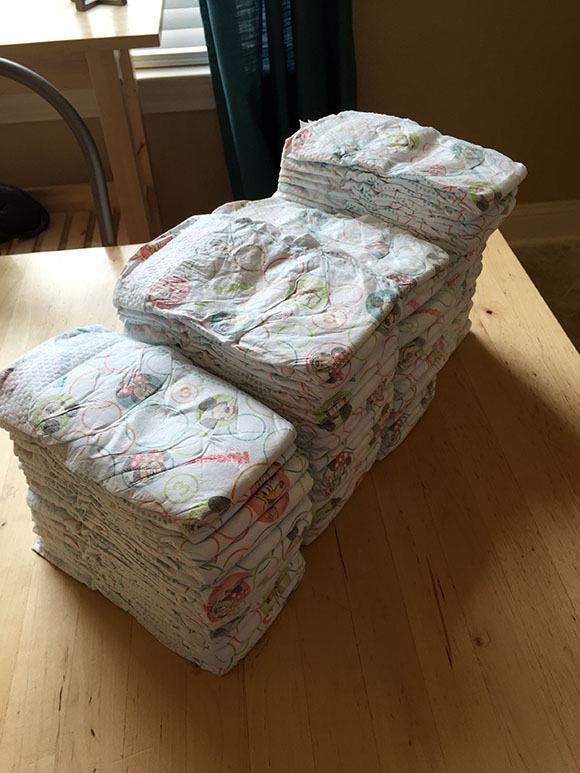
The first step in assembling your wreath is rolling the diapers. I had an 18″ wreath form and I ended up using 29 diapers.


And then keep rolling and rolling until all your diapers are ready to go!

Next, take each rolled diaper and wrap it with ribbon. I like using a wide ribbon for a nice graphic effect.

Note – make sure you don’t glue the ribbon to the diaper – you want these to still be functional for the recipient!

Wrap the other side of the ribbon around and pull it tight so that the diaper is snugly held in place. Trim off any excess ribbon.

Once all the diapers have ribbon around them, you can start gluing the diapers (via the ribbon – make sure not to get glue on the diaper!) to the wreath form.
Start by gluing a diaper at 12:00, 3:00, 6:00, & 9:00 to give yourself some parameters to keep the diapers evenly spaced.


Once the diapers are all glued down, you can add more pops of color with other ribbon. I wove a blue ribbon over and under the diapers – so easy!
Voila! Your wreath is done. Glue a loop of ribbon at the top to hang it with, and you’re all set.

You can add fun extras to the wreath by stringing a pennant banner across the middle, or dangling a toy or letter in the center. Whatever you end up doing, the wreath will be a great addition to any shower – and the recipient will love it!